Site boundaries define areas in which balance of system equipment may be placed by the application. Multiple site boundaries may be defined but at least one must be defined in order for the application to return results. Typically, site boundaries define the full parcel(s) of land which will be purchased or leased for the full solar plant. Depending on design parameters including AC system size, DC/AC ratio, Ground Coverage Ratio, etc. not all of the area within the site boundaries may be used in the design of the plant. The application will search for the optimum design configuration within the boundaries defined. Boundaries are also used to determine certain cost and financial calculations that require total site land area. A good example of this would be the total annual lease cost for the site (if the site is leased) since the units for user input are $/acre.
Note- If multiple boundaries are entered, the application will still consider these as one electrical system supplying the grid at one location.
The following steps outline how to manually create and edit site boundaries. However, site boundaries may also be uploaded directly from a KML file generated by Google Earth or other similar software. See section on uploading KML files for detailed explanation on how to do this.
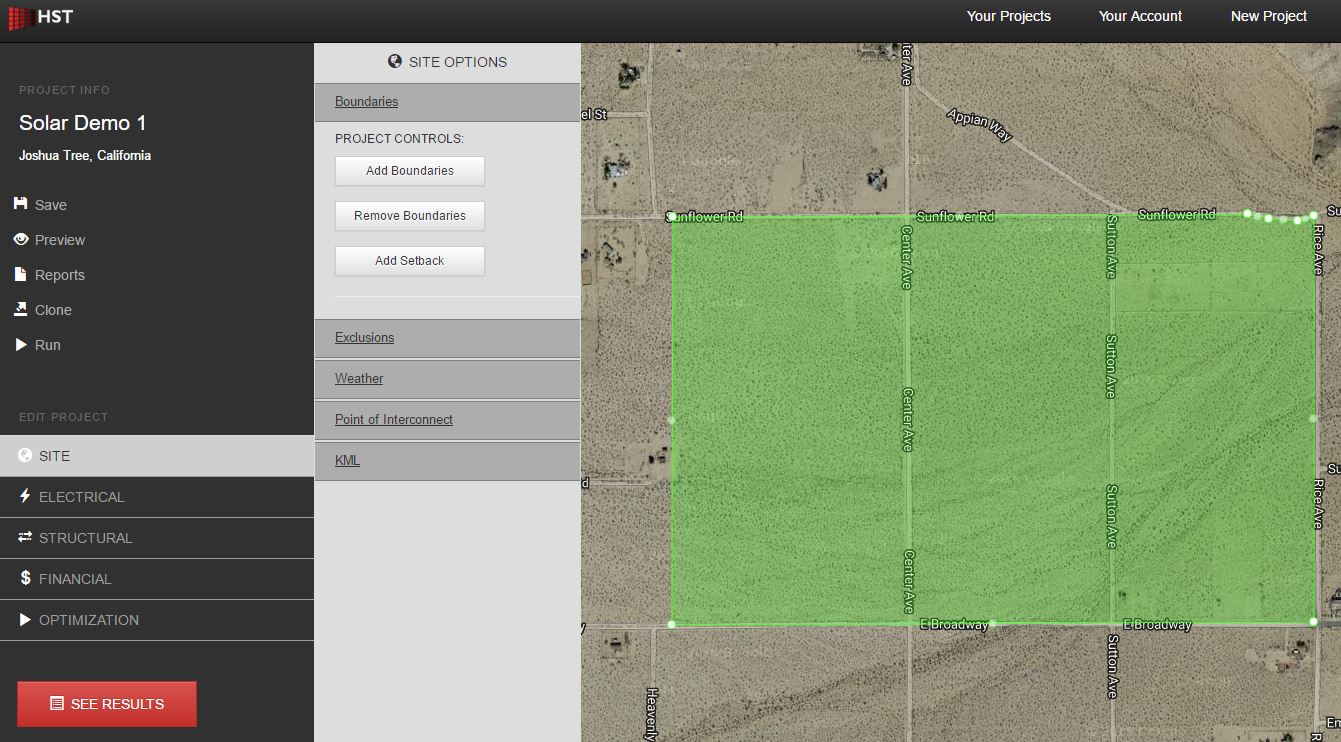
Step 1: Within the Project Design Environment, Click Site on the left Navigation Bar and move the map to focus on your site area.
Step 2: Click Boundaries within the Project Controls Widget and begin to edit project boundaries using the Add Boundaries, Edit Boundaries and Delete Boundaries buttons within the Project Controls Widget. Boundaries will show up on the map in green. The boundaries may be resized and edited as needed to capture the usable land area for the project. To delete a boundary, click on Remove Boundaries, confirm OK on the dialog box that appears, and click on the desired boundary to be deleted.
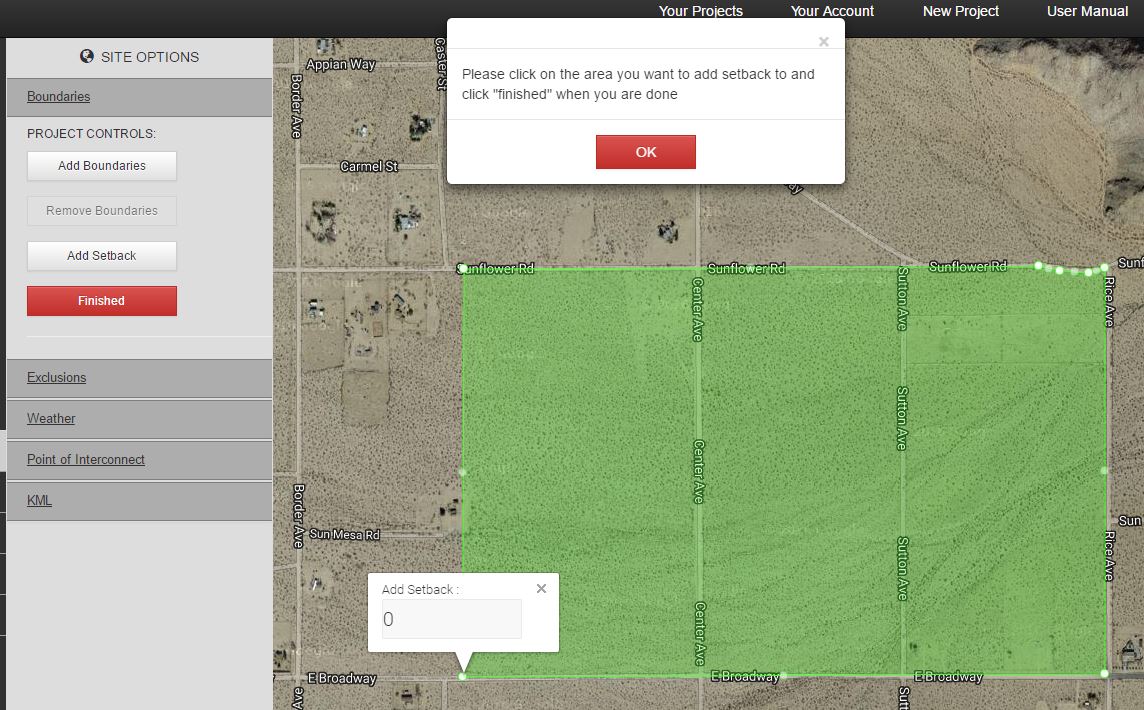
Step 3: Click Add Setback and Enter Boundary Setback Distance in Feet. This decreases the usable site area and prevents PV from being designed within this setback area. Click Finished when done.
Step 4: Click Save. Data entered may be lost if not manually saved.