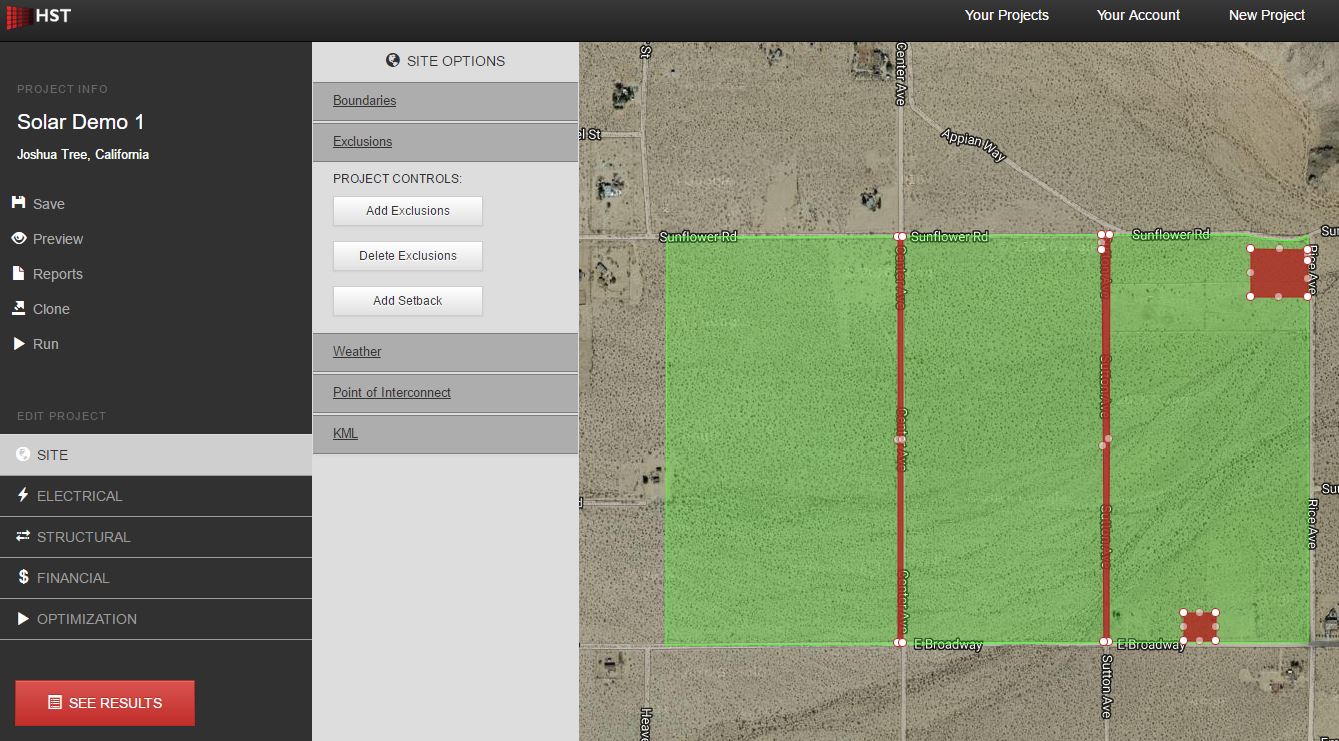
Exclusion Zones may be defined within boundaries to prevent the application from placing balance of system equipment within them. They may be defined in much the same way as boundaries. No exclusion zones need to be defined but as many may be defined as necessary and they may overlap each other. Exclusion zones may be defined for things such as project substations, parking or laydown areas, challenging topographical features, etc.
Note- At present, exclusion zones do not prevent cabling from being routed through them.
The following steps outline how to manually create and edit exclusion zones. However, these may also be uploaded directly from a KML file generated by Google Earth or other similar software. See section on uploading KML files for detailed explanation on how to do this.
Step 1: Within the Project Design Environment, Click Site on the left Navigation Bar and move the map to focus on your site area.
Step 2: Click Exclusions within the Project Controls Widget and begin to edit exclusion zones using the Add Exclusions and Delete Exclusions buttons within the Project Controls Widget. Exclusion zones will show up on the map in red. The exclusions may be resized and edited as needed. To delete an exclusion zone, click on Delete Exclusions, confirm OK on the dialog box that appears, and click on the desired exclusion to be deleted.
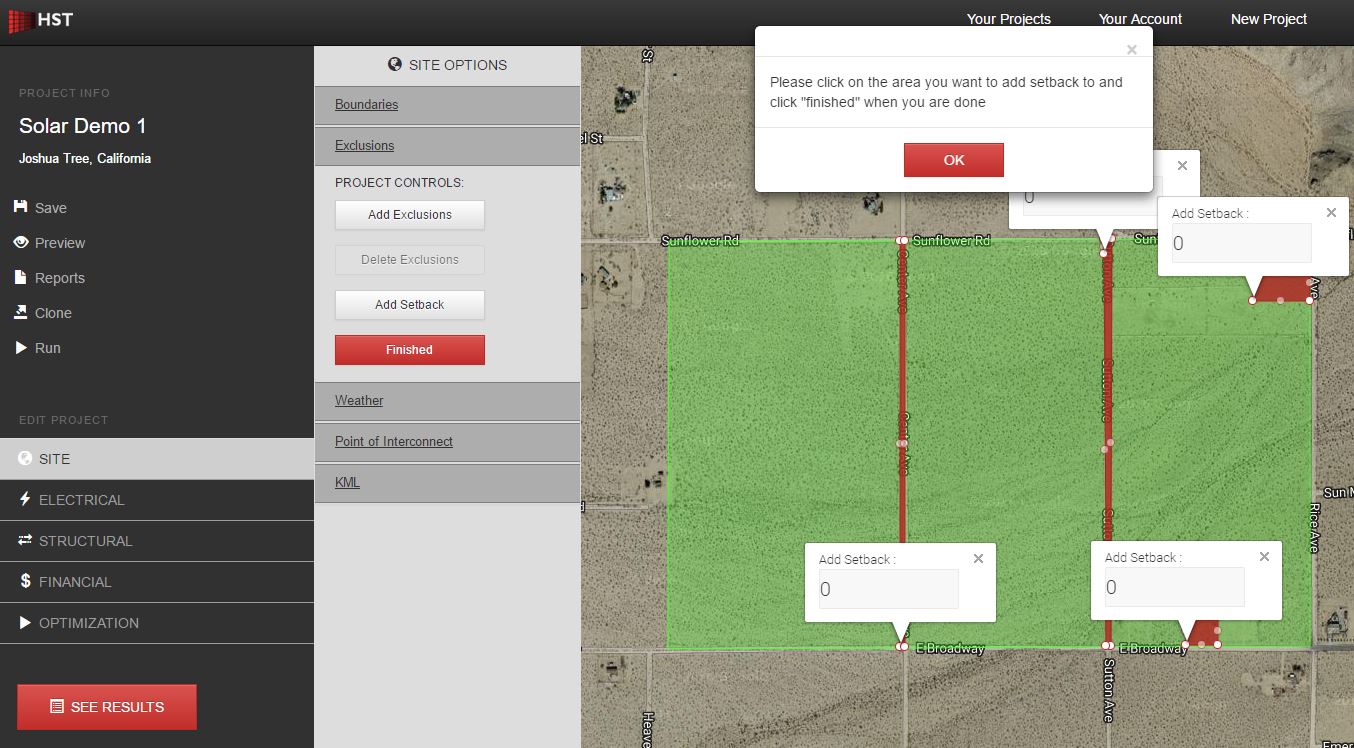
Step 3: Click Add Setback and Enter Exclusion Setback Distance in Feet. This increases the exclusion area. Click Finished when done.
Step 4: Click Save. Data entered may be lost if not manually saved.